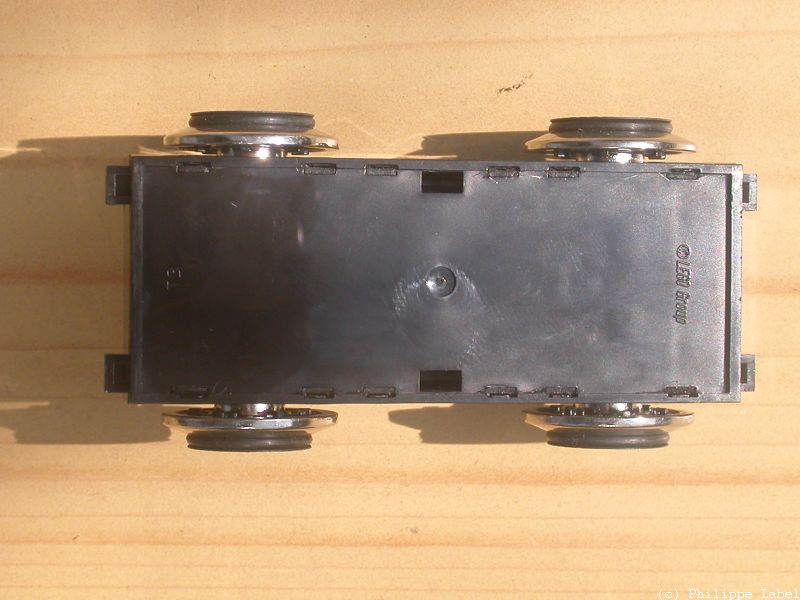
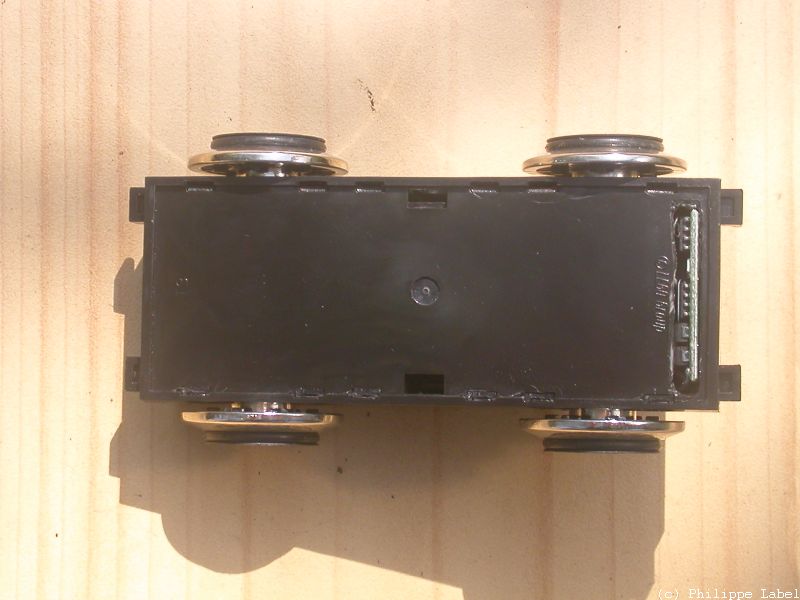
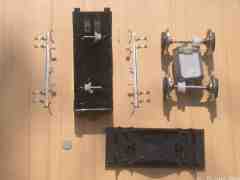
1.
Couper au raz de la caisse les douze ergots qui bloquent le bas du
capot moteur.
With a sharp blade, remove the twelve plastic pins closing the
bottom case.
|
|
|
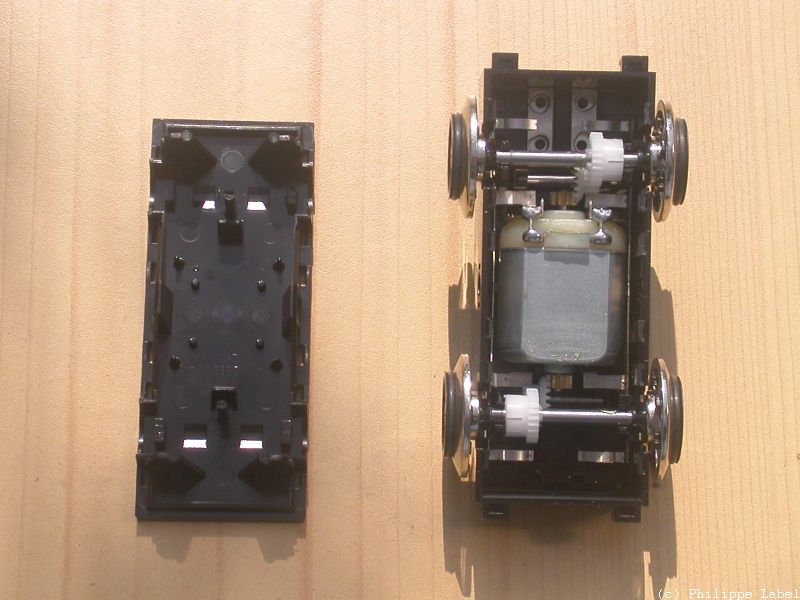
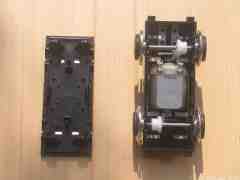
2.
Retirer délicatement le bas du capot moteur.
Remove gently the motor bottom case.
|
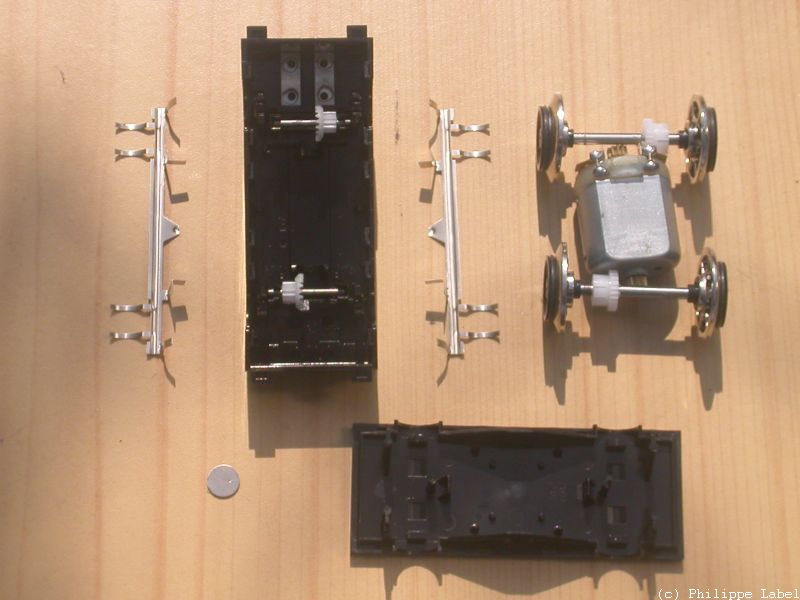
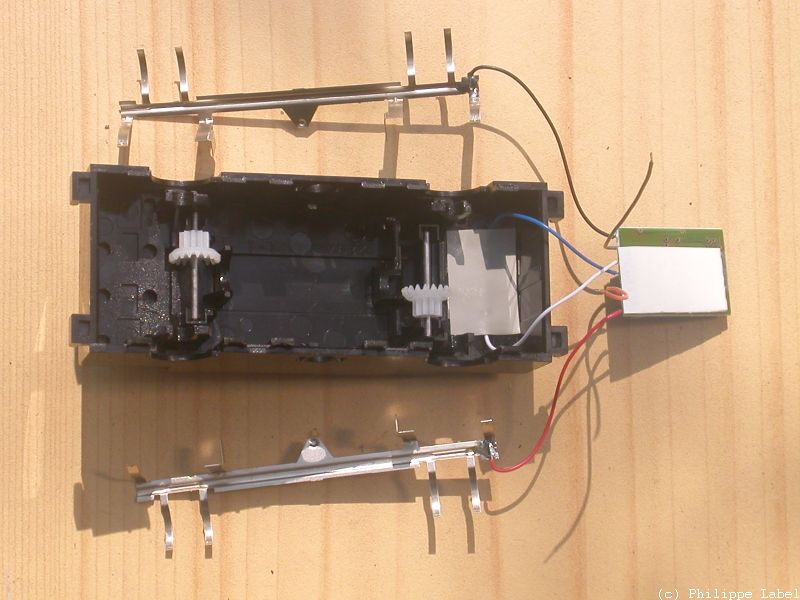
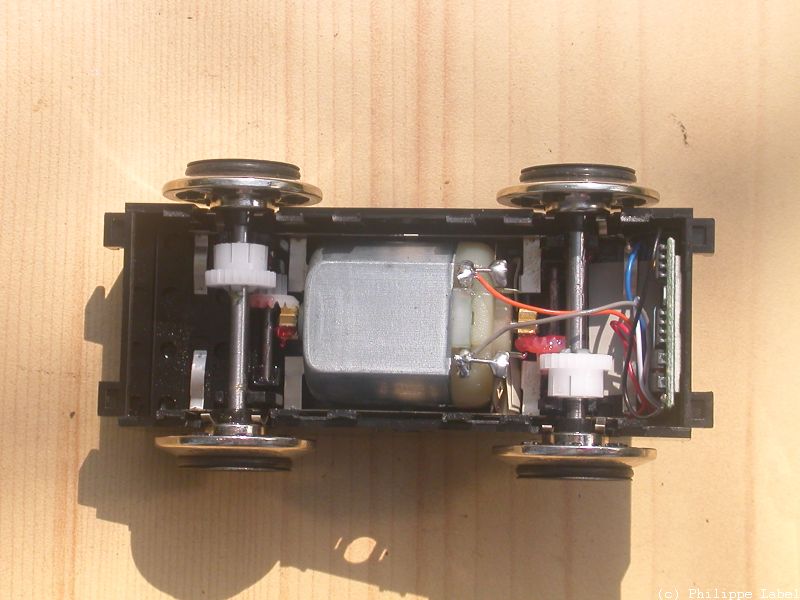
3.
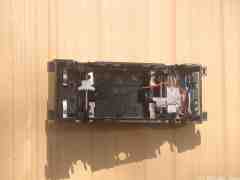
Avant de sortir les pièces, observez bien le montage, pour
savoir remonter à la fin. Séparer dans l'ordre, les
essieux, le moteur, le disque fusible thermique, les collecteurs latéraux
de courant.
Le disque fusible thermique ne sera
pas remonté.
Before removing parts, observe assembly to learn how to build
back at the end. Separate the axles, the electric motor, the thermal
fuse and the lateral voltage collectors.
The thermal fuse will not be put back
at the end.
|
|

|
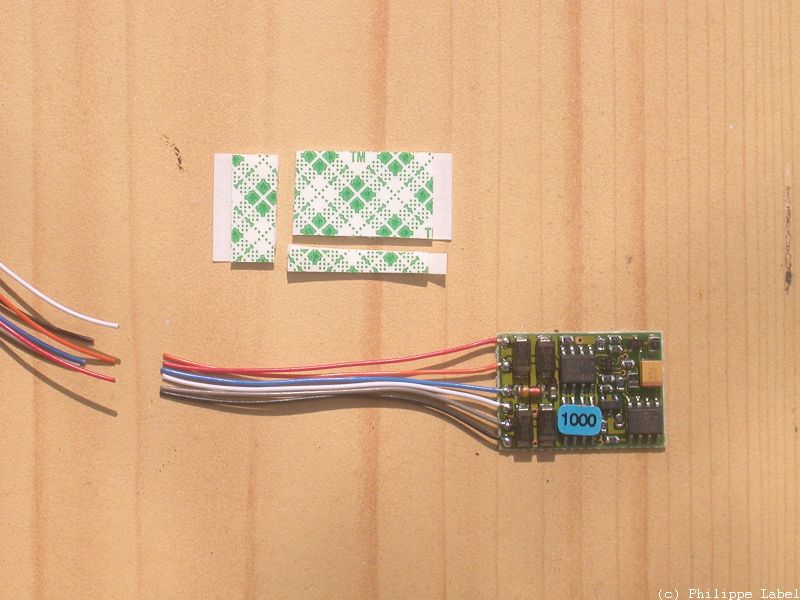
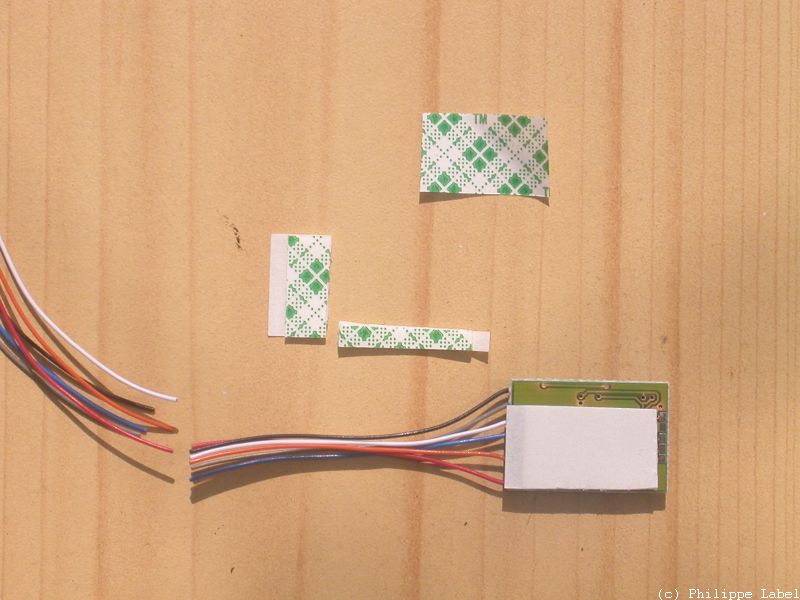
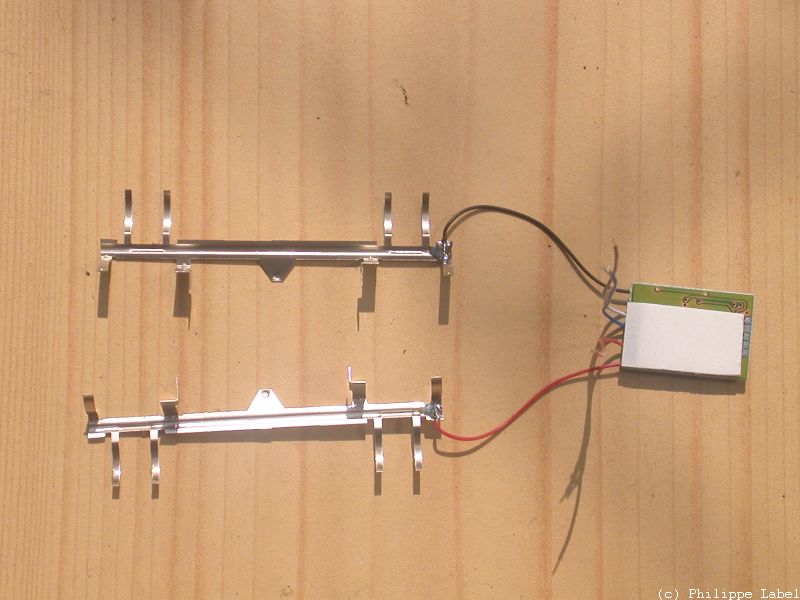
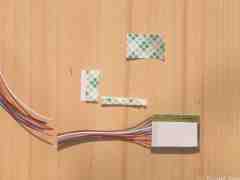
4.
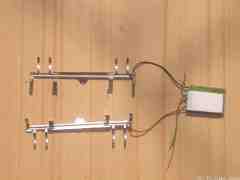
Couper les fils du LE1000 à 45mm du circuit imprimé. Découper
de l'adhésif double face épais aux dimensions du circuit.
Cut the decoder wires at about 5 cm (2 in.) Cut thick double-sided
tape at the size of the decoder board.
|
5.
Fixer l'adhésif double face derrière le circuit imprimé
exactement comme montré sur la photo.
Stick the double-sided tape on the back of the decoder board exactly
as shown on the picture.
|
|
|
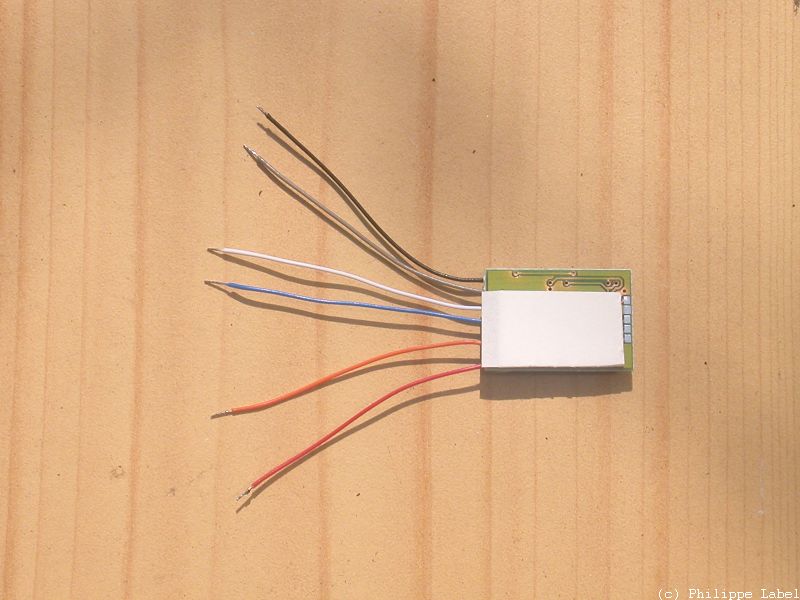
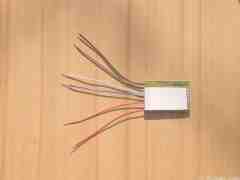
6.
Dénuder et étamer les six fils du LE1000.
Remove 5 mm of plastic at six wires end of the decoder and tinplate
them with the soldering iron.
|
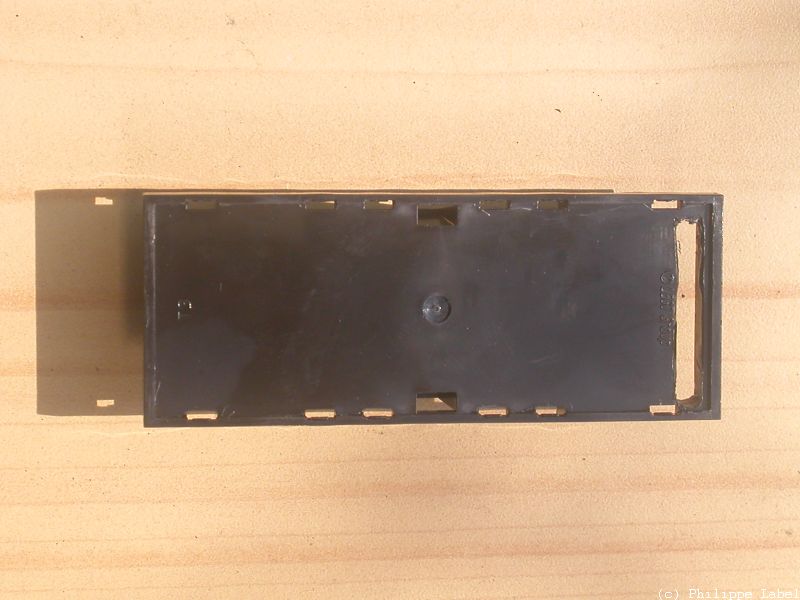
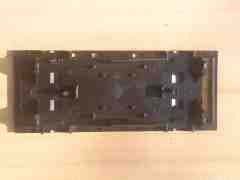
7.
Découper une fenêtre dans le bas du capot moteur à
la longueur du décodeur comme sur la photo.
Cut and open a window in the motor bottom case at length of the
decoder as shown on the picture.
|

|
|
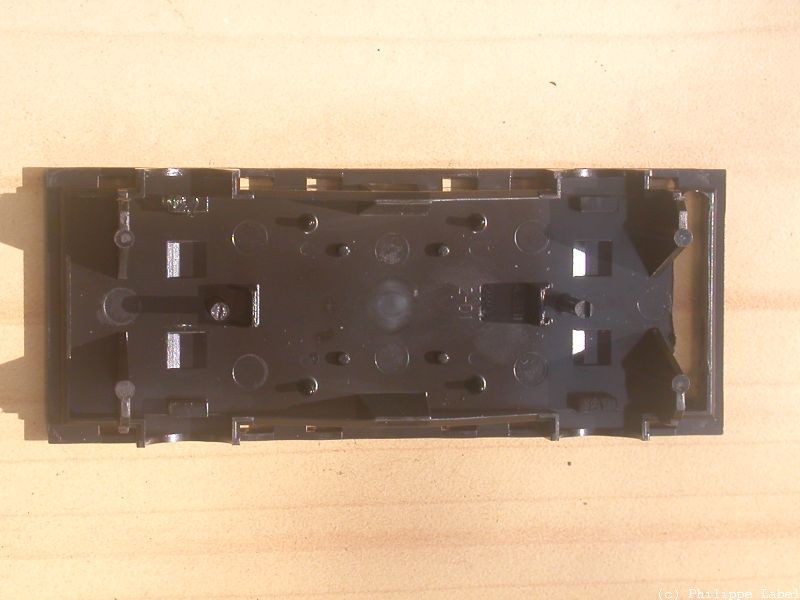
8.
La même découpe vue de l'autre face du capot.
Same cut shown from the other side of the motor bottom case.
|
9.
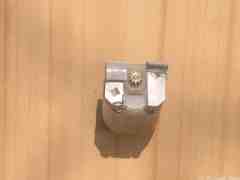
Souder les fils noir et rouge du LE1000 sur les collecteurs de courant
en respectant l'orientation du collecteur, la couleur du fil et la
position de la soudure comme indiqué sur la photo.
Solder DCC-in wires (track tension), normally red & black,
to the lateral voltage collectors as shown on the picture. Respect
orientation of parts, wires and colors.
|
|

|
10.
Souder les fils bleu et blanc dans les contacts du haut du capot moteur
en respectant les couleurs comme indiqué sur la photo.
Solder Accessory-out wires, normally blue & white onto the 2x2
LEGO connector as shown on the picture. Respect orientation of parts,
wires and colors.
|
11.
Placer un adhésif isolant électrique sur les contacts
du haut du capot moteur.
Isolate accessory connector with a piece of thick plastic tape
as shown.
|

|
|
12.
Placer un adhésif isolant électrique sur les contacts
du moteur.
Isolate the regular motor contacts with a piece of thick plastic
tape as shown.
|
13.
Coller le LE1000 au fond du côté du haut du capot moteur
à l'aide de l'adhésif double face. Le LE1000 doit être
centré horizontalement. Replacer les collecteurs latéraux
de courant.
Stick the decoder on the inner side of the motor top case using
the double-sided tape. Center horizontally the decoder as shown. Put
the lateral voltage collectors back in place.
|
|
|
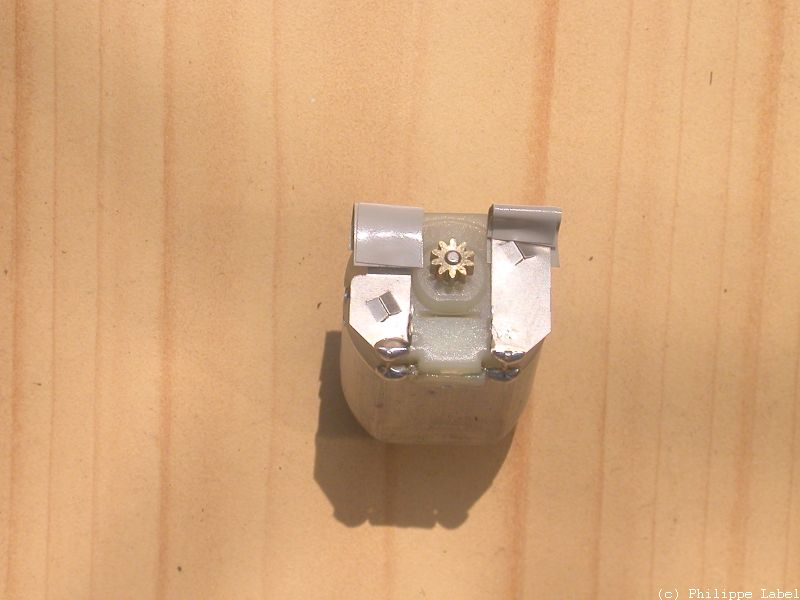
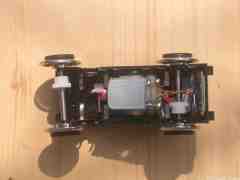
14.
Replacer les essieux en prenant soin de graisser les palliers et les
engrenages avec de la graisse rose pour vélo.
Replace the axles and grease them and their gear with bicycle pink
grease.
|
15.
Souder les fils orange et gris sur le moteur en respectant les couleurs
comme sur la photo.
Solder the motor-out wires, normally orange & grey, onto the
motor contacts as shown. Respect colors orientation.
|

|

|
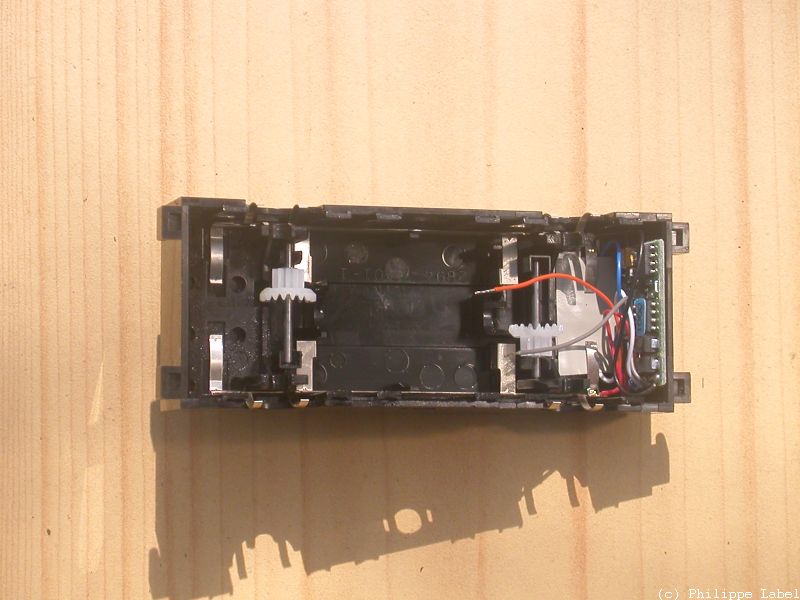
16.
Replacer le bas du capot moteur en repoussant bien les fils contre le
LE1000. Coller par une goutte de colle au cyanocrylate sur chaque ergot
coupé et maintenez en place quelques secondes.
Replace the motor bottom case back in place and be careful about
wires position inside. Glue at each corner with a quarter drop of cyanocrylate
and hold for few seconds.
|